
Converting your Internal Combustion Engine to Electric requires 3 Steps:
1) Remove the old engine, its control cables, its battery cables, the bolt you dropped in the bilge and other assorted stuff
2) Prepare the Engine and other compartments for the new motor and batteries
3) Install the new cables, batteries and motor
|
1) Removing the old Stuff | |
|
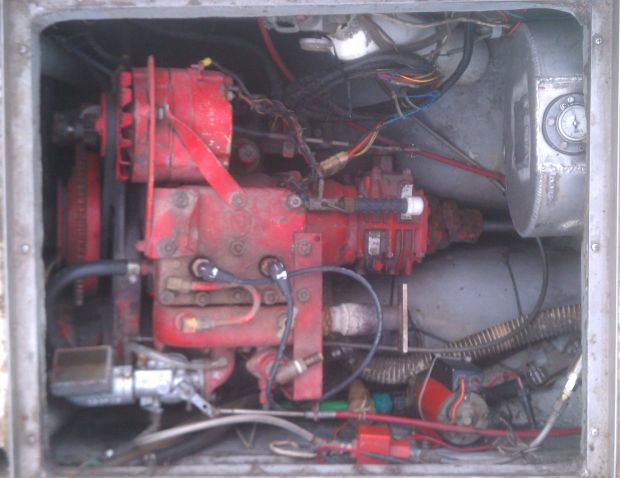
Loosen everything attached to the old engine and ... |
 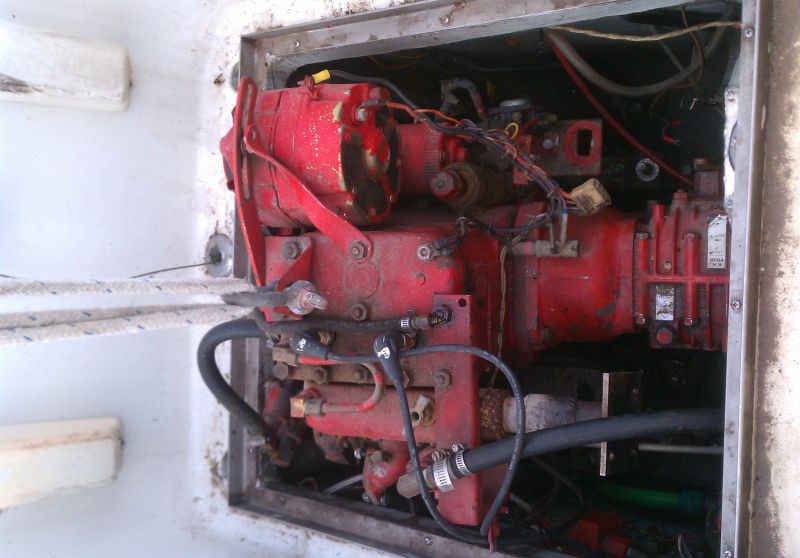
|
... LIFT, preferably with a few friends and a crane. Be VERY careful! The old motor is heavy and can: hurt You, hurt your friends and hurt your Boat. |

|
Put the old engine somewhere useful. Mystic Seaport Marine Engine Museum? |
|
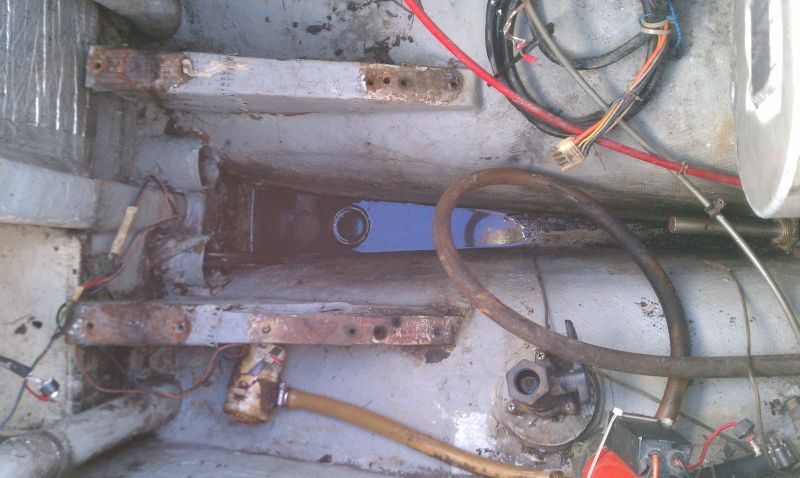
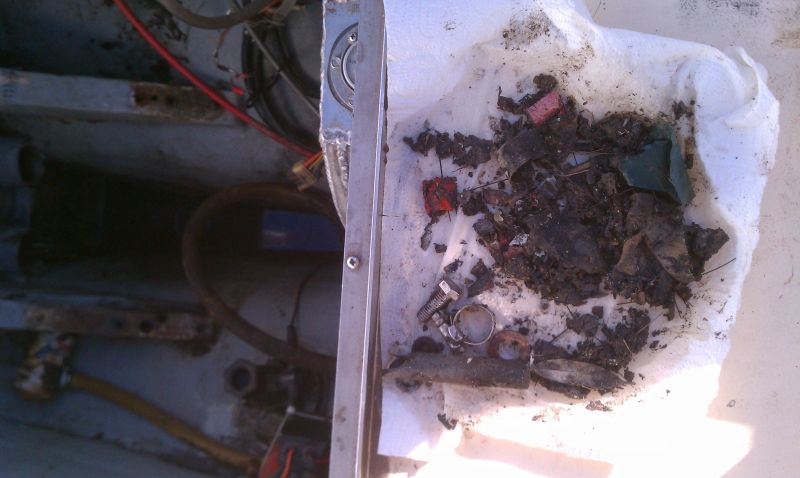
Take inventory of everything else that needs to come out ... |
|
... and start the clean up. There's the bolt I dropped 8 years ago. I don't even remember dropping the band clamp. |
|
2) Prepare the Battery Shelves and Engine Compartment | |

|
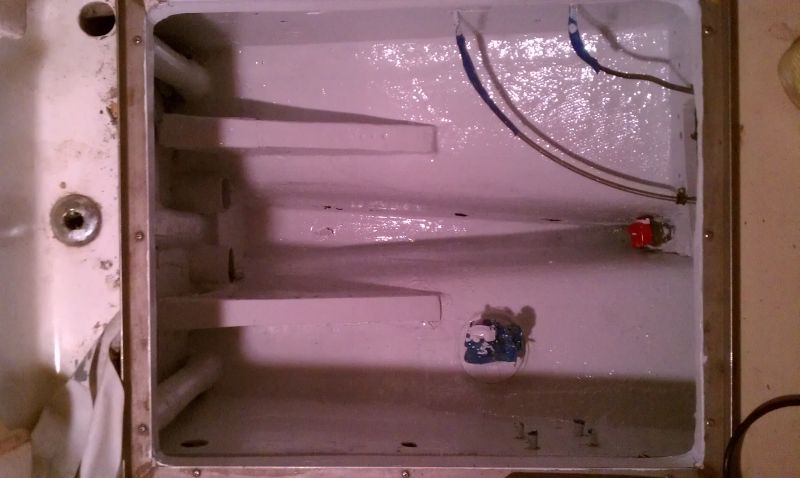
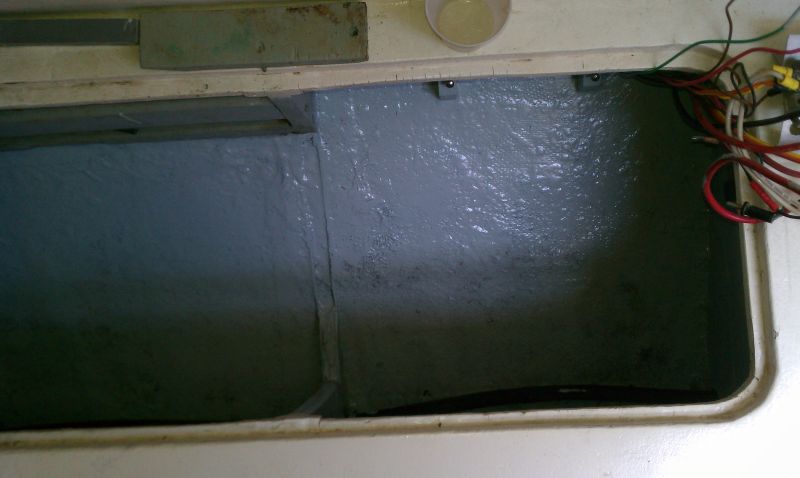
Prepare the Engine Compartment, especially the bed rails for a fresh motor install. In this case I had to level the rails as well as fill 7 old flex-mount holes (yes, 7. Don't ask). |
|
While you have the chance, paint the engine compartment. That will help show when you need to dust. |
|
My new batteries are 105A 12v Group 31 AGM's so I made a cardboard box model of the new battery to help with determining fit and making measurements. Here the battery model sits on the new port quarter berth battery shelf while I add fiddles. |
|
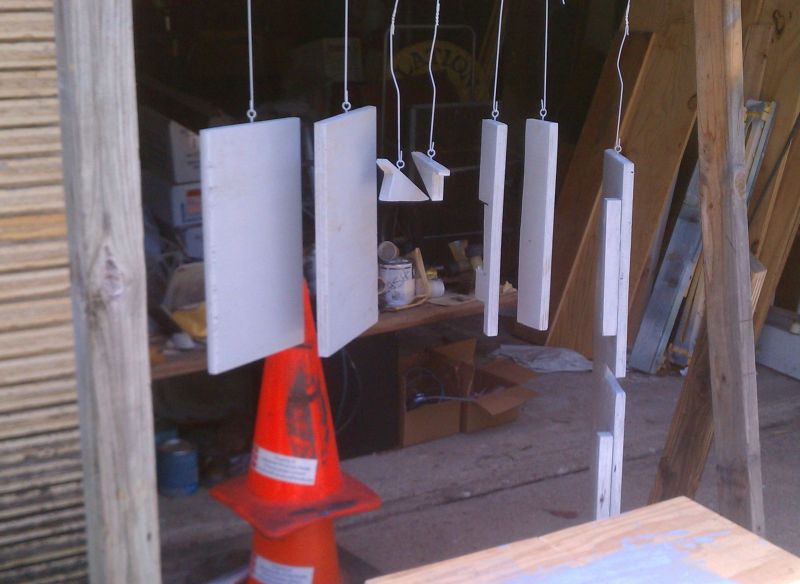
Measure for and start building the battery shelves. Here the 3rd coat of paint is drying on a temporary rack. From the left: - 2 new quarterberth shelves, - 2 athwartship braces, - 2 fwd/aft inboard braces; - the old midship Group 24 battery shelf (which, built for battery boxes, fits the AGM’s well). |
|
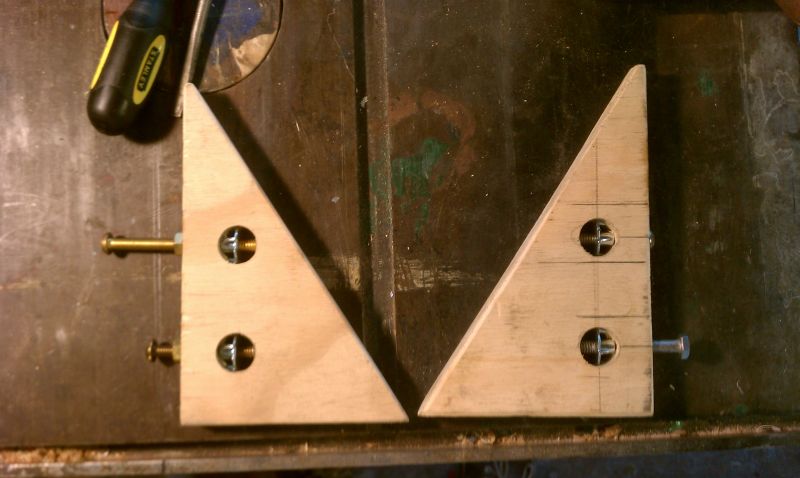
These are battery braces that will bolt to the underside of the quarterberth to keep the 75 pound batteries in place when the boat rolls, ... |

|
... filled with polyester resin to keep the S/S T-Nuts from falling out during brace installation. |
|
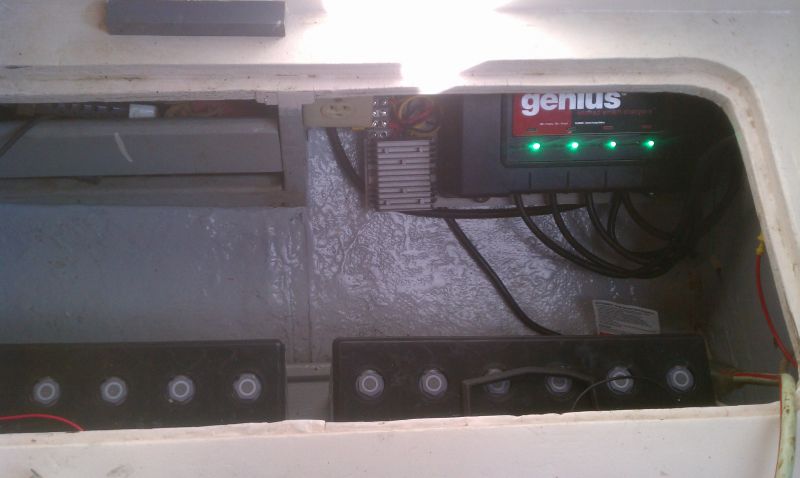
The 4 new batteries and motor totaled about 360 lbs. The old Atomic 2, gastank, S/S jacketed dry exhaust, and 2 group 24 batteries totaled about 360 lbs. However, the 4 new batteries are all going into the ship's waist helping to balance her better. I refit this midship 2 bank group 24 battery compartment for the new charger, new converters and 2 of the new group 31's ... |

|
... and installed new shelves under the Quarter berths for the other 2 group 31's. Note the cutouts in the shelf and support to allow cables to run under with out being pinched. |

|
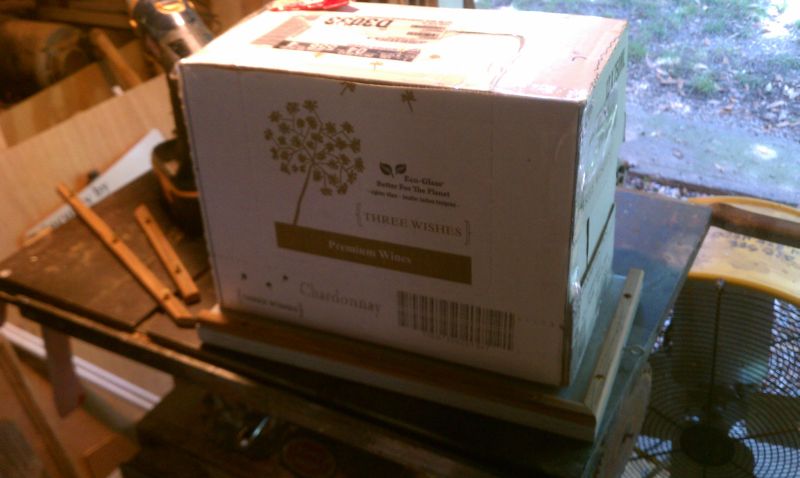
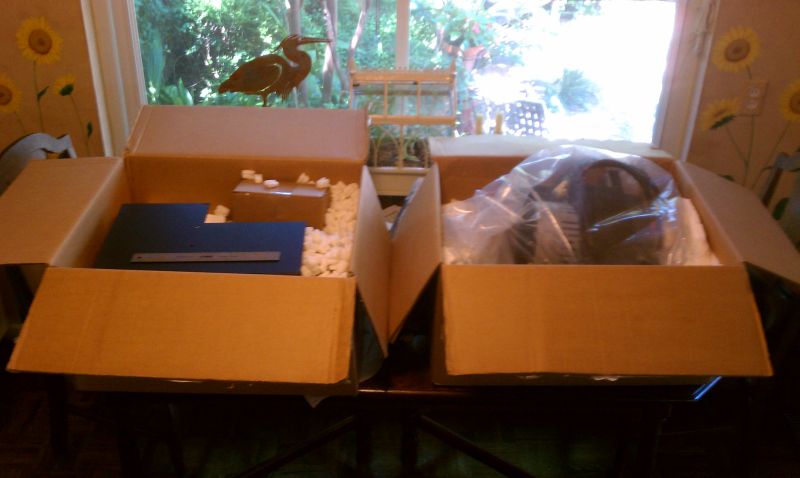
The new Electric Yacht motor arrives ... |
|
... well packed ... |
|
... with lots of parts to understand and a VERY good installation manual. |
|
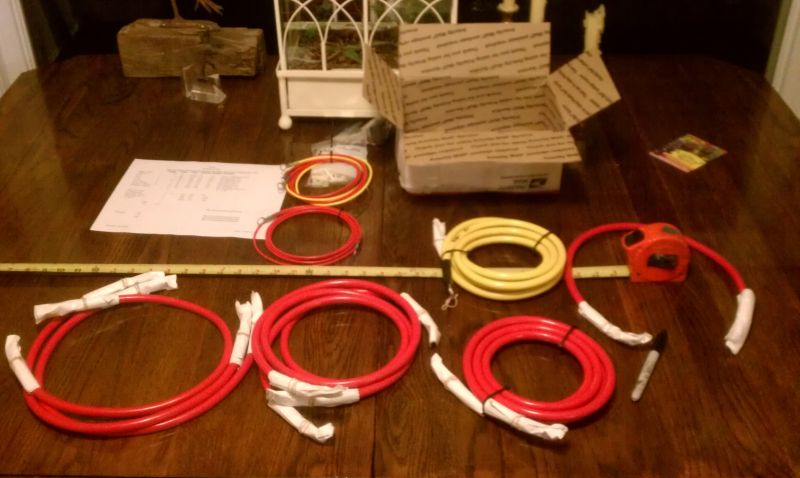
Carefully plan and measure for battery cables. Add 1 foot to each. I ordered mine on line fitted with properly sized waterproof lugs and was very pleased. I checked each length and labeled each end. Labeling made installing MUCH easier! |
|
3) Now the Fun Part, Installing the New Controls, Cables and Motor | |
|
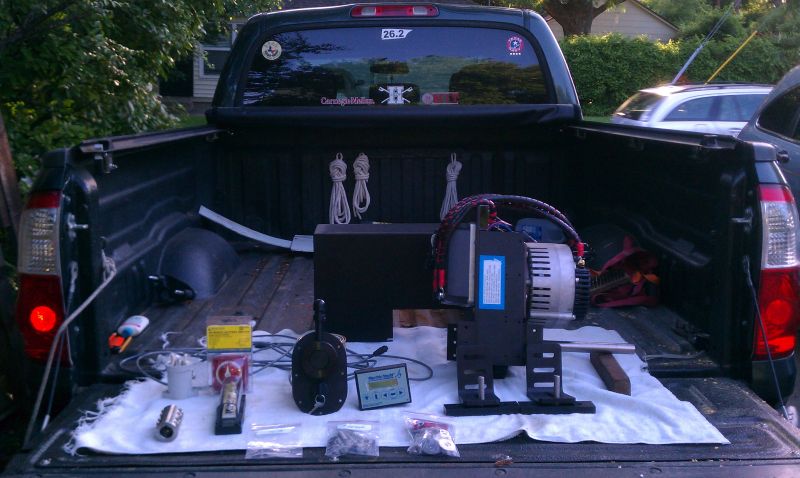
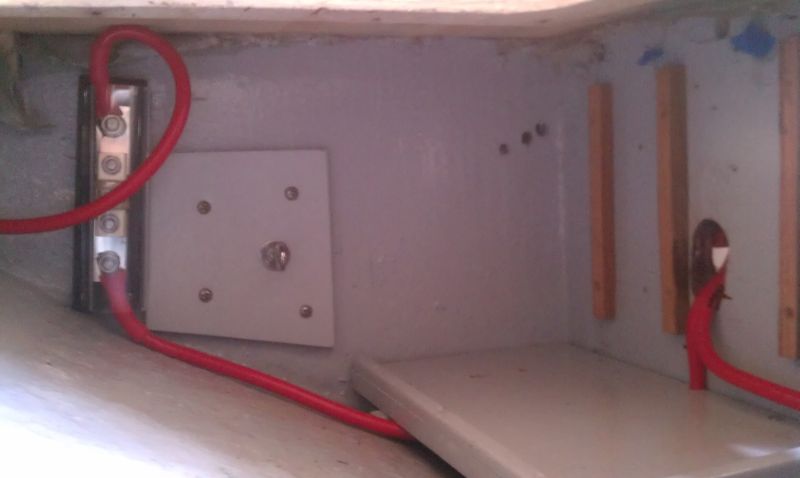
Now it's fun: start to install motor parts and cables. From left to right: - Fuse, - Battery tie down plate, - Q-berth battery shelf (note gap for cable under), - Vertical wooden stand-offs to prevent pinch/chafe to the cables exiting via hole to the ... |
|
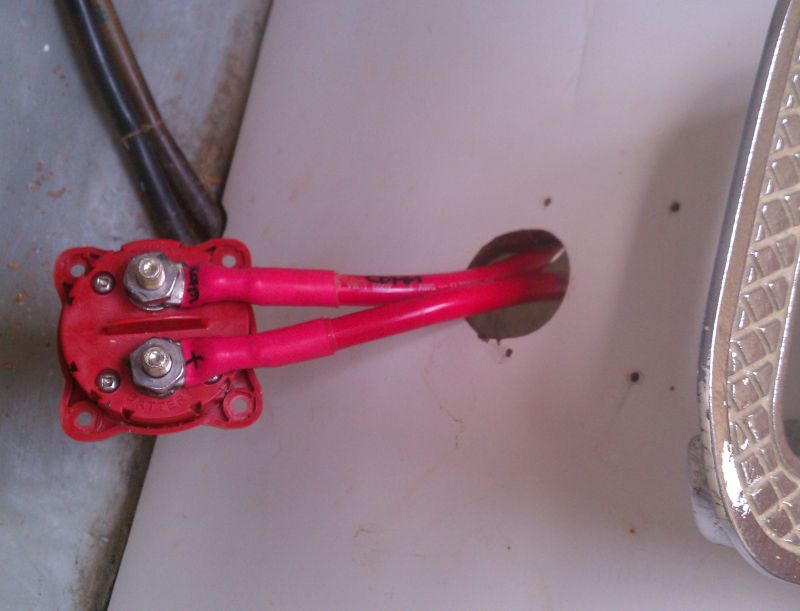
... Main 48v power switch (note the cable lables) |
|
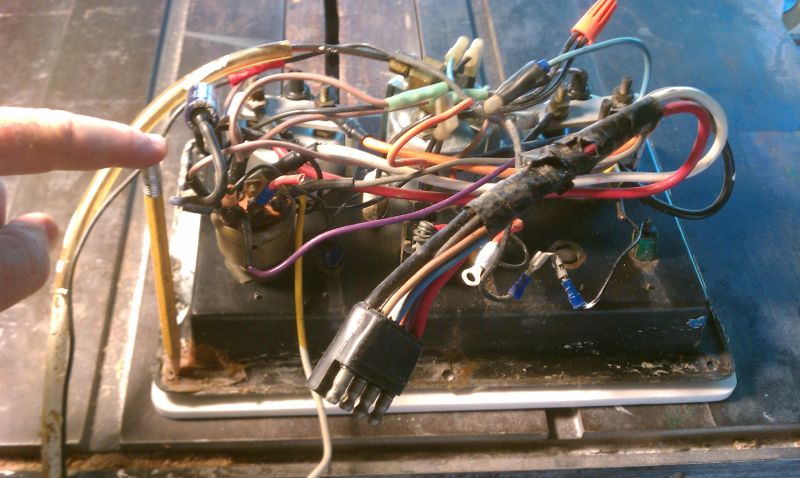
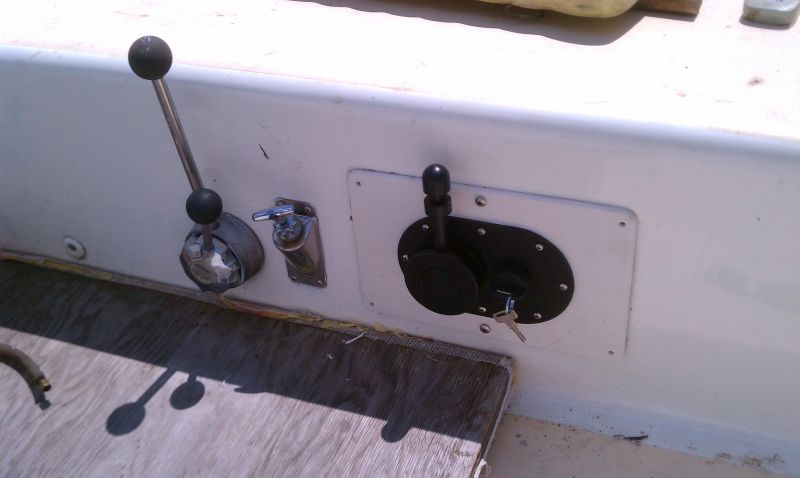
Building the plate to cover the old engine gauge panel ... |
|
... and installing the new Throttle on that plate. Interesting comparison between Old and New. |
|
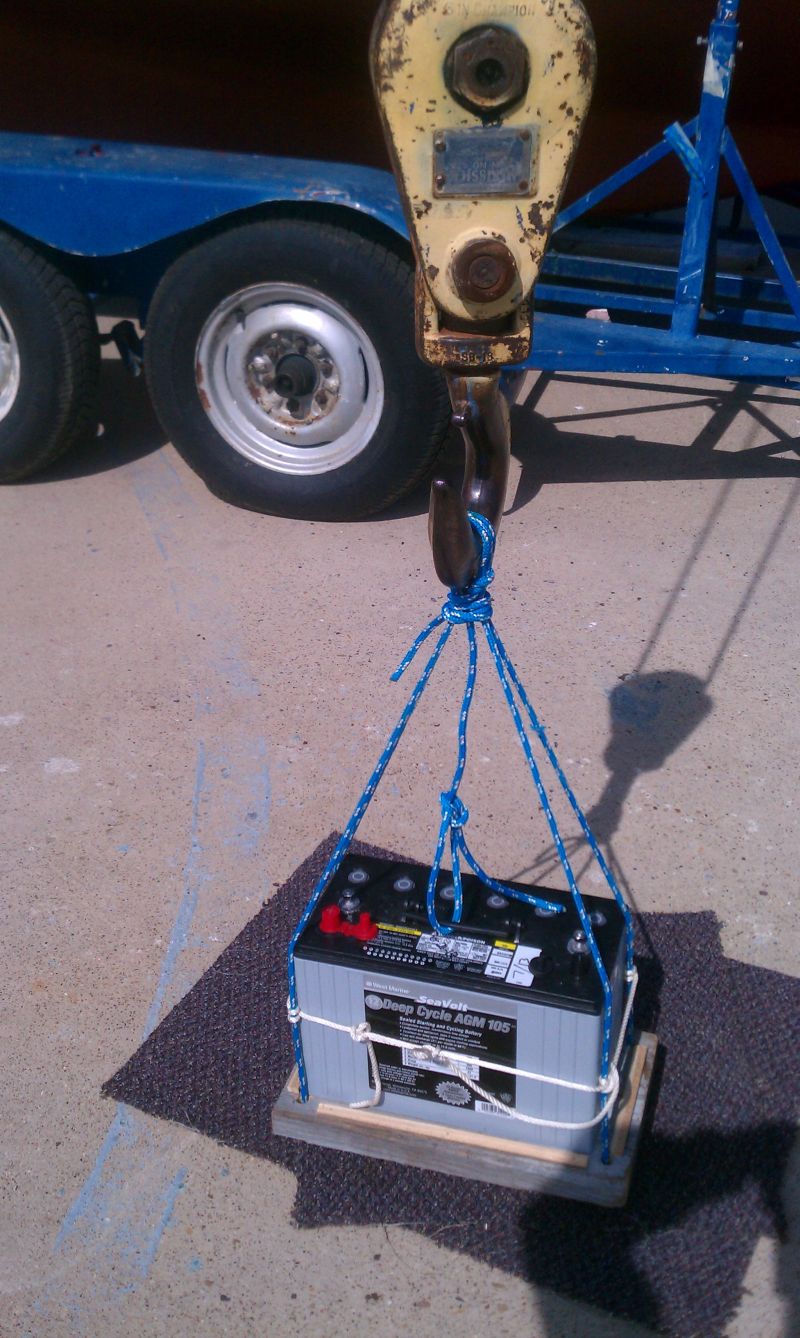
Lifting the 75 pound group 31 AGM batteries on board. I took the easy route & used the crane again. The "Bosun's chair" is for safety. |
|
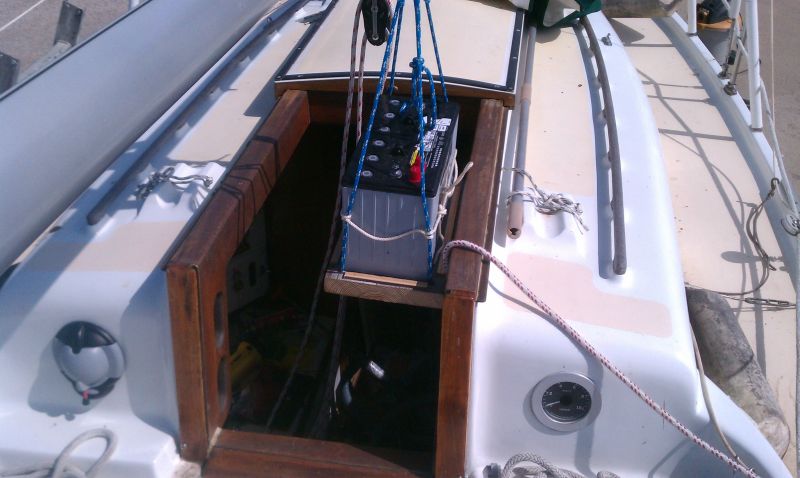
Down the hatch ... |
|
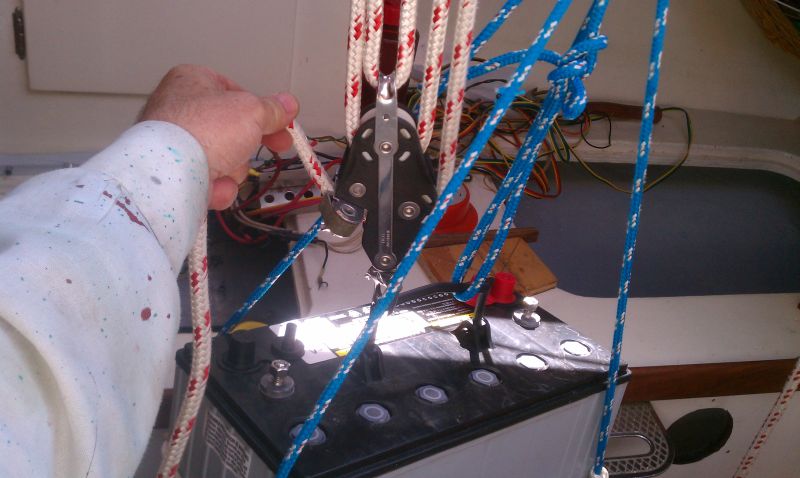
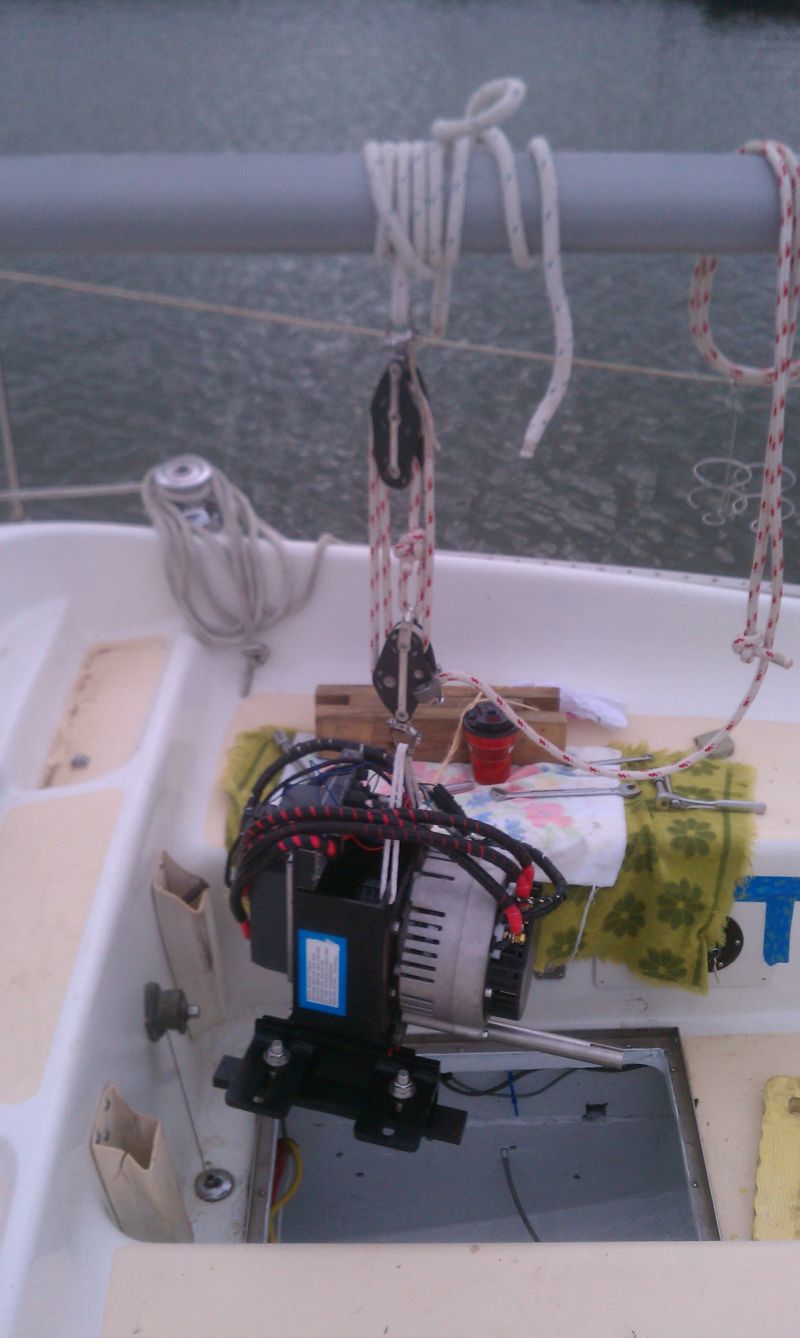
... and over to the Boom Vang for easy control of the final placement. |
|
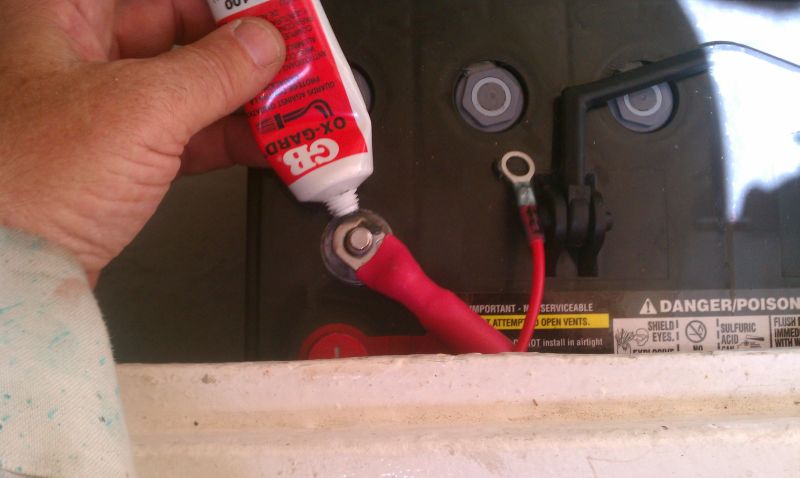
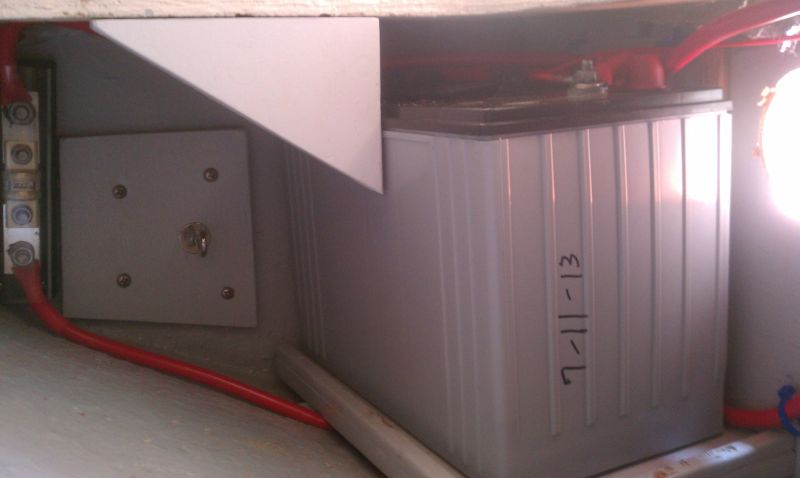
I do not intend to undo the battery connections again for the 8 year life of the AGMs so I used an anti-corrosive paste. You will want to tighten the nuts yearly. |
|
Here's the port quarter berth with the battery and brace in place. The hole to the right of the battery is for ventilation. |
|
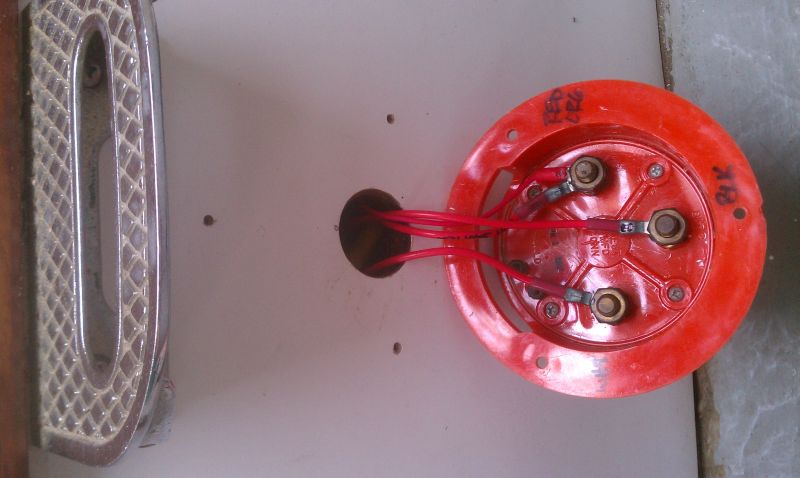
To separately control the 12v House Power I repurposed the old "Batt1/Both/Batt2/Off" switch to take 48v in on the common and conduct it via "Batt 1" and/or "Batt 2" to ... |
|
... a pair of 48v-12v converters for house power (near the picture center, small with aluminum body & fins). Each provides 10 amps and I have a back up if one fails. Genius makes a "wickedly smart charger". |
|
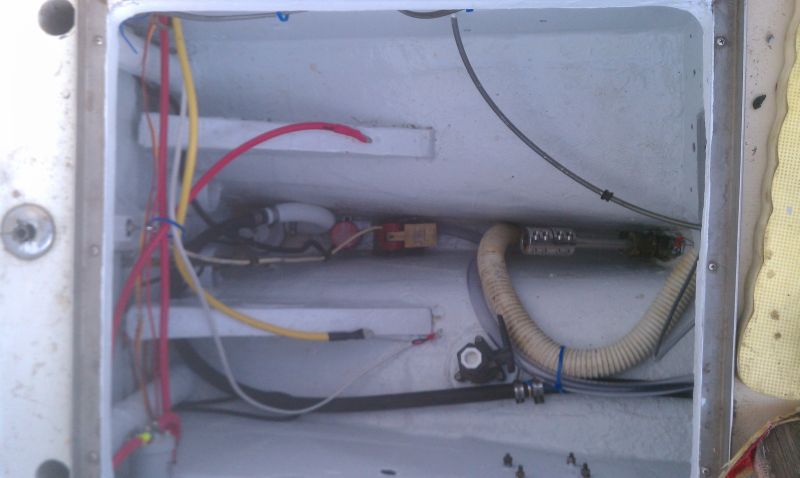
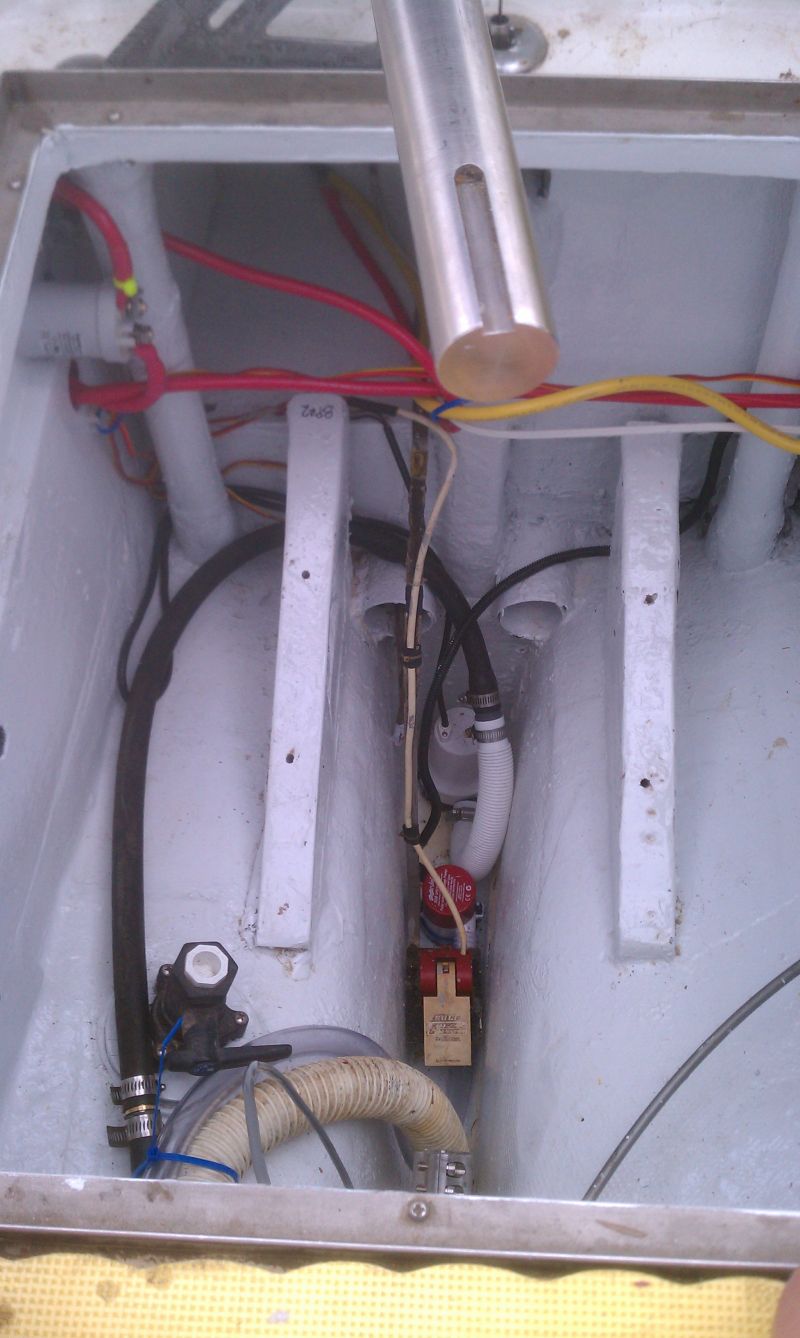
Engine compartment cleaned, painted, cabled and ready. Note the Contactor mounted up high in the lower left of the picture and the Shaft Couple center right. |

|
Like so many times before with the 300# Atomic 2, for old times sake I used the crane to hoist the Electric Yacht 70# motor aboard. |
|
The Boom Vang easily did the actual in and out and in and out and in for the motor install. |
|
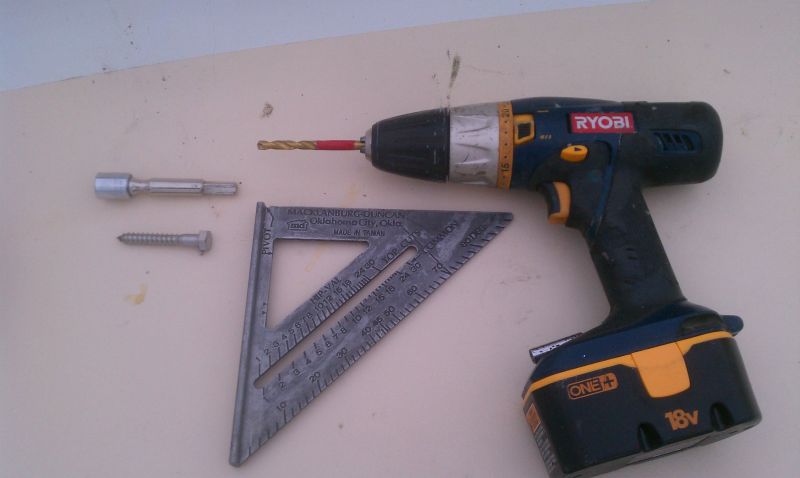
The tools necessary to mount the motor on the bed rails. |
|
Finally, the big moment ... |
|
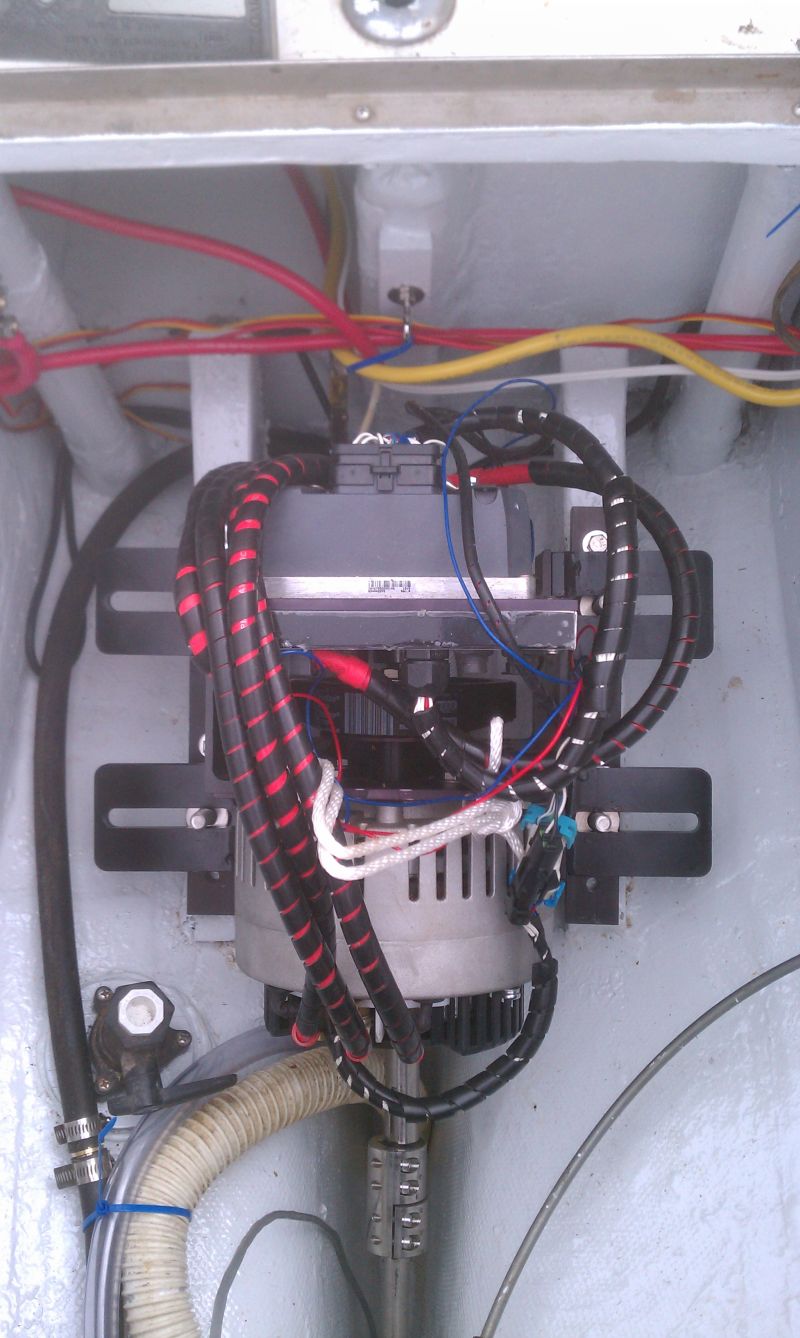
... and it’s DONE! Now for: - aligning the shafts, - connecting power cables, - connecting control cables, - programming the controller and the - the check out cruise! It was so hard to stay focused and do each of these steps well. Oh, but it was worth it! After all the work, and wondering if this motor would perform as forecast, I am very pleased to report the new Electric Yacht motor exceeds my expectations! Interested? Click here to Contact Us |